How to Remove Smoke Smell From Wood Furniture
So you just found a sweet deal on a dresser on Craigslist. You went through the trouble of setting up the deal, driving to the location, loading it up, more driving, unloading it at your house, you know the whole rigmarole. Then you realize something is bad wrong.
It's steeped in cigarette smoke. Oy vey
Now what? There's no way you're bringing it into your house, and there's sure no way you can sell it! You now have two options.
One, you can use it for firewood.
Two, you can finish reading this post and find out how to remove smoke smell from furniture.
I've read several articles and viewed even more pins about removing smoke smell from furniture, and nearly all of them leave me shaking my head in disgust. Friends, I don't care what essential oil concoction you wanna rub on that wood, it ain't gonna help! Same goes for vinegar, baking soda, lemon juice, coffee beans, coffee grounds, fabric softener, potpourri, furniture salve, sunshine, and the list goes on.
The problem is, the wood has absorbed the odor (and this also goes for that musty smell, grandma's perfume, moth balls, animal urine and any other offensive smells). Cleansing the wood surface will not/cannot penetrate deep within the wood and rid it of the smell. Yes, if you try one of the other remedies I listed above, you might notice the smell seems gone, but I promise, as soon as you move it into your home the smell will be back quickly. And that's a promise.
So how can you get rid of it?
The true answer is, you can't…
BUT you can cover it up! And we do that with Shellac!
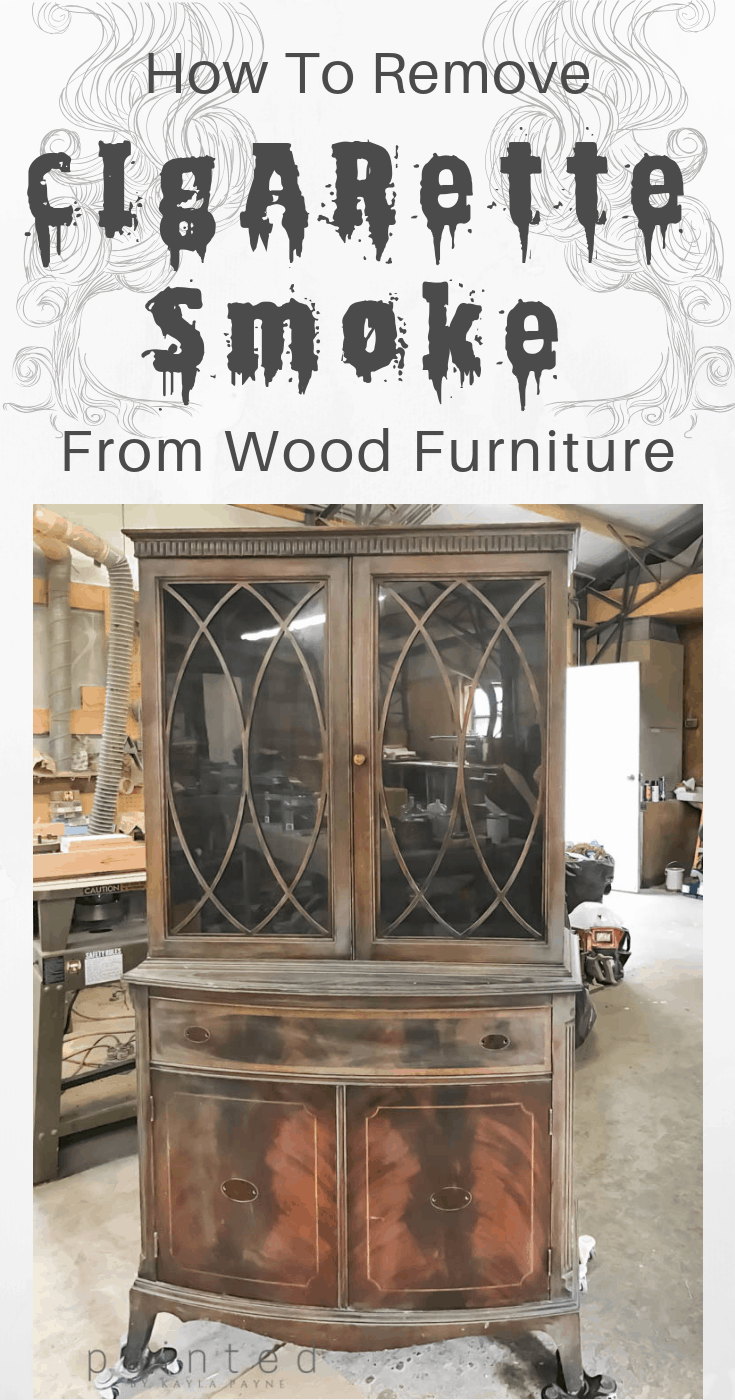
How To Remove Smoke Smell From Wood Furniture
Covering (or sealing) every square inch of your stinky furniture with shellac will get rid of the smell. I'll type that one more time. Covering every square inch of the furniture will get rid of the smell.
It's kind of a tedious chore, but it's 100% required to make sure the odor is totally gone. This means taking out all of the drawers to cover every single side. Back side, under side, inside, outside, all the sides of every door and drawer. The underside of the piece, its backside, again…all.the.sides.
Now that you know you have to apply shellac to allllll the sides, let's talk about what types of shellac there are and how they can be applied.
Types of Shellac and How to Apply
There are several types of shellac, but we're going to focus on the two most common for now.
The first type is clear, dewaxed Shellac.This clear shellac is sold by the pint, quart or gallon and can be applied either by brushing or spraying. It's very simple to use either way.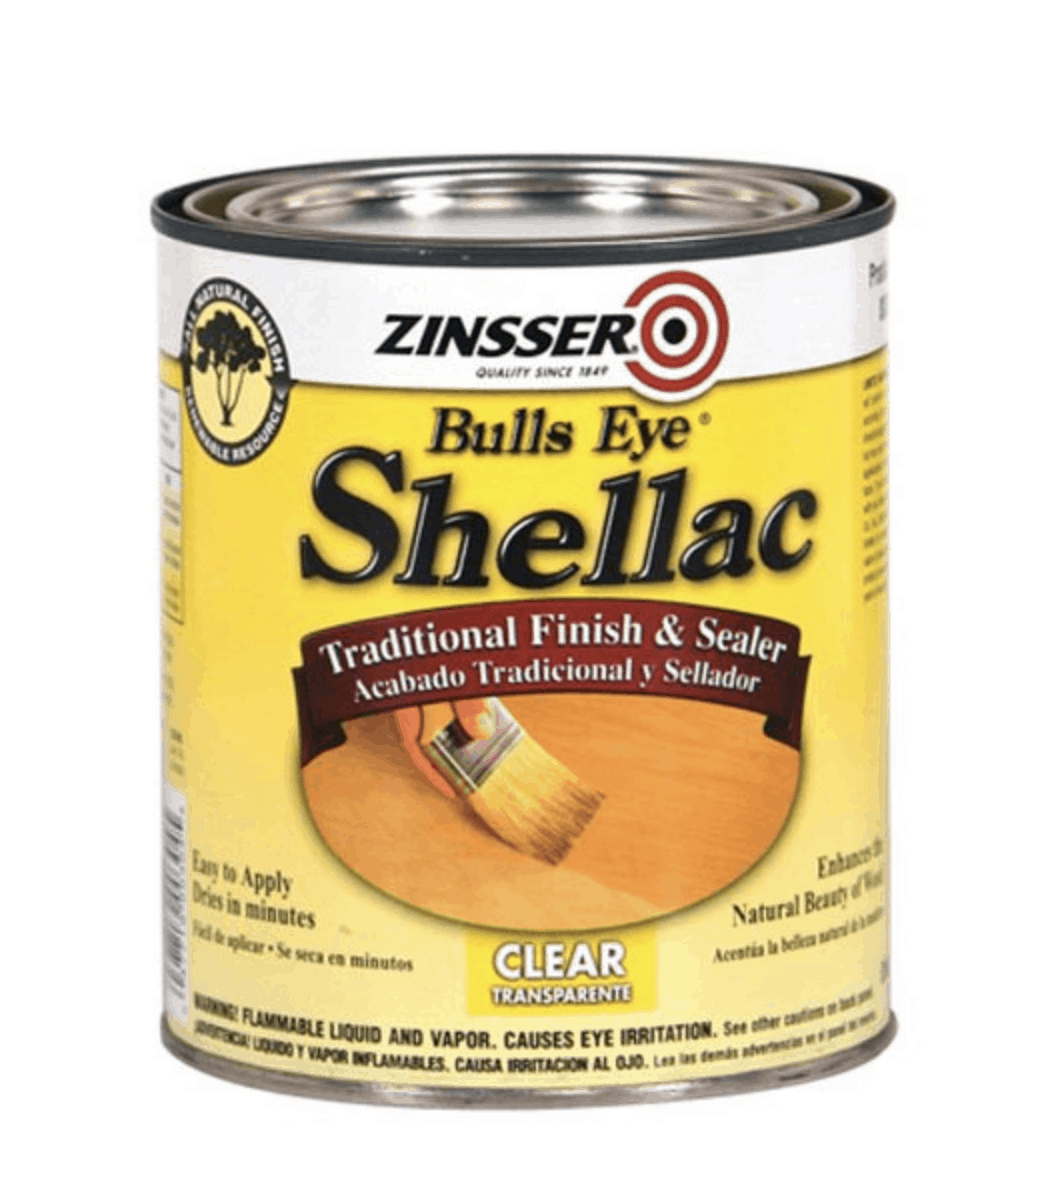
This is the same product but in an even easier to use rattle can! Just shake it up well, and spray. The only drawback of course, if you have a larger piece of furniture it will take several/many cans to cover all those sides!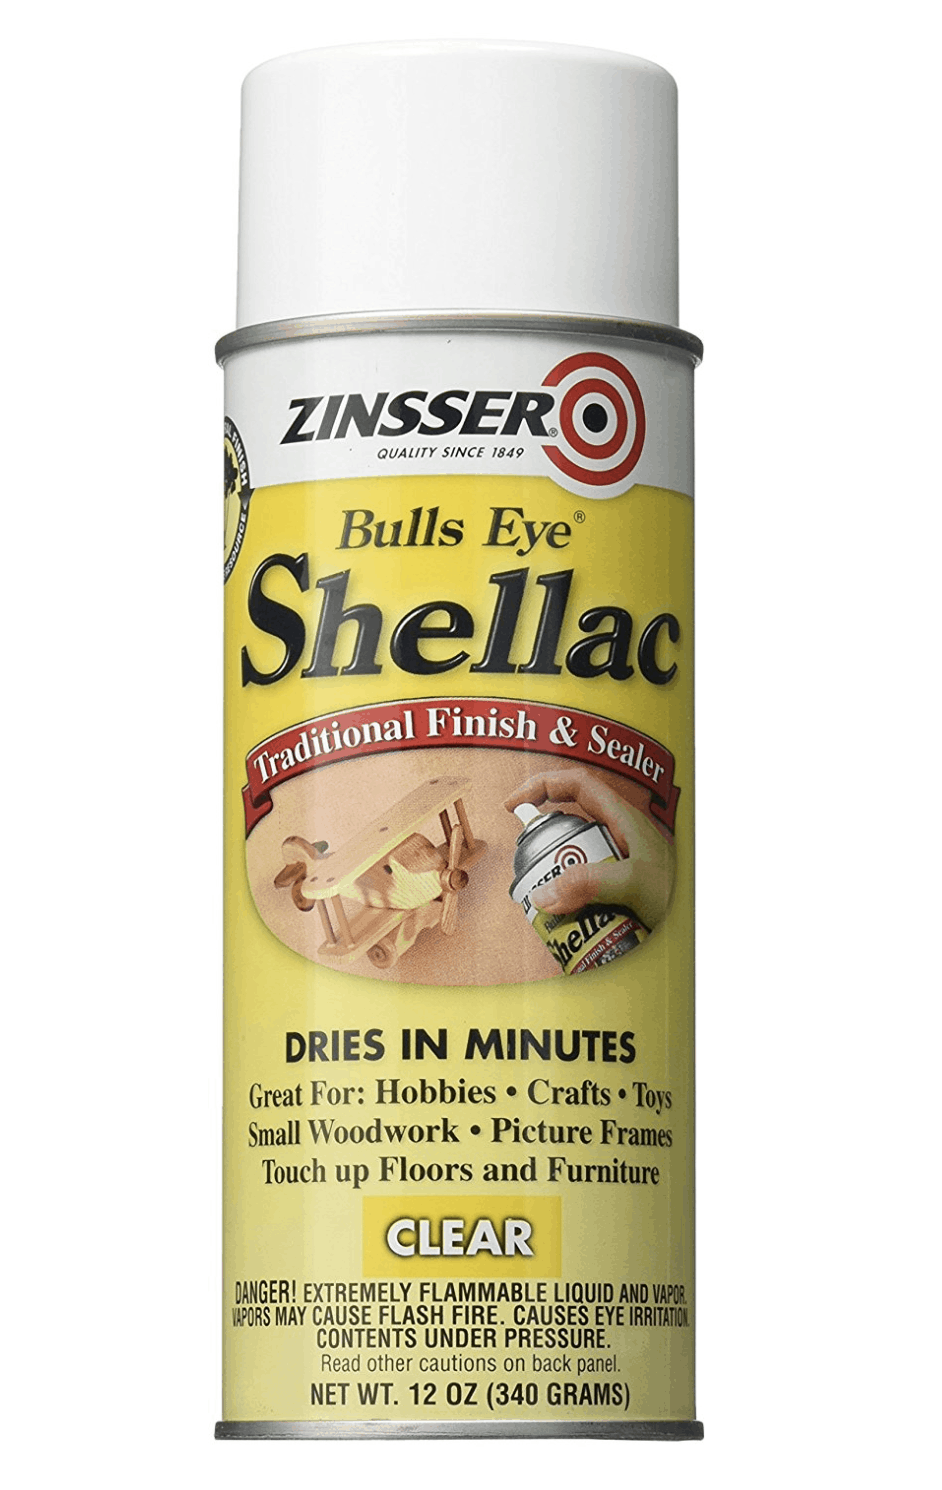
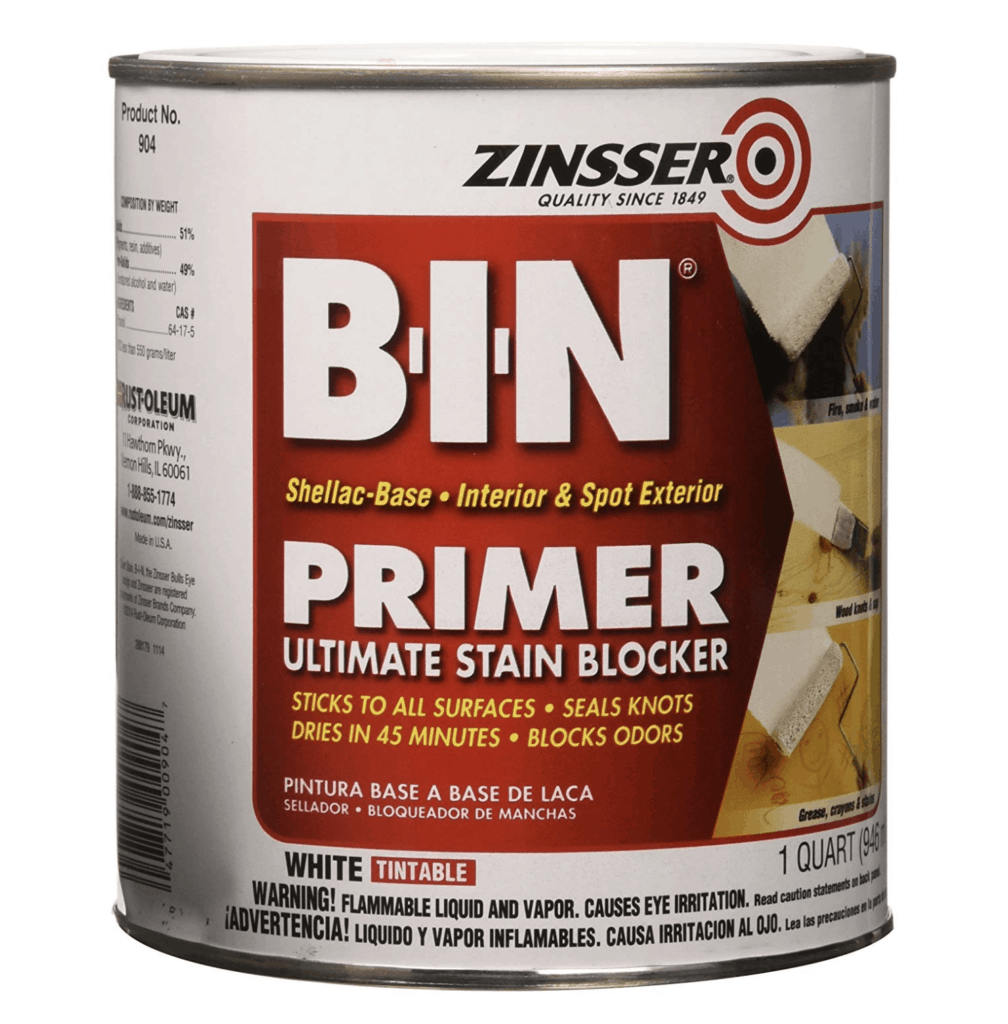
Next up, there's this White Pigmented Shellac Base Primer, also commonly referred to simply as BIN. The only difference here is, this one is white where the previous two are clear.
When To Use Clear vs Pigmented Shellac
Let's say you have a stinky wood piece of furniture that you want to paint with chalk paint and distress so that some wood shows through the paint. Like one of these below examples:

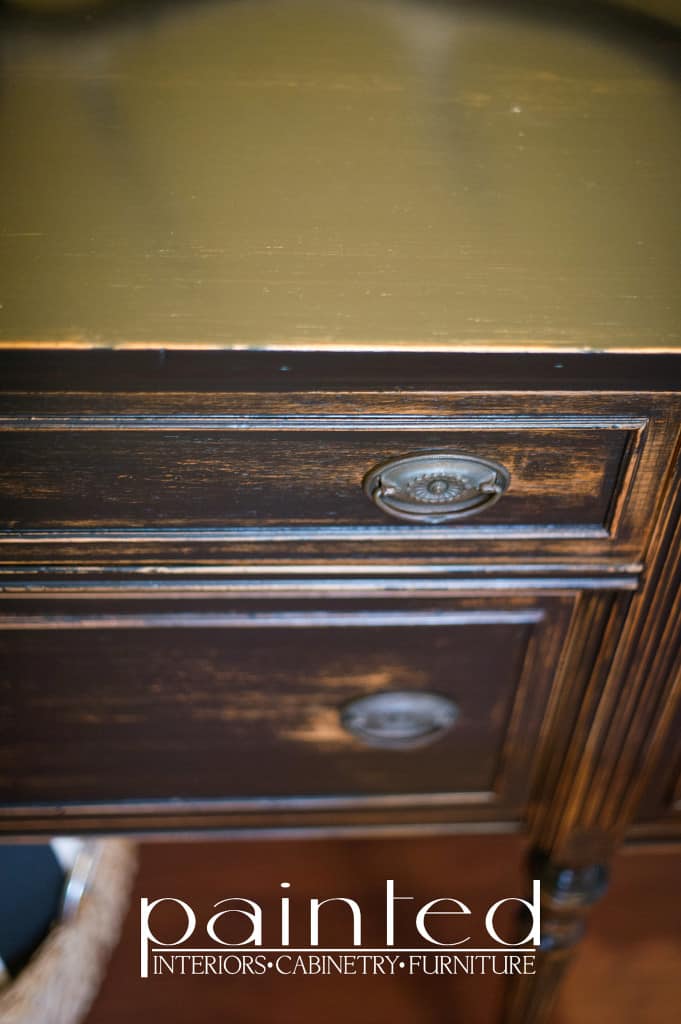
You wouldn't want to use a pigmented primer under a paint that you were wanting to distress. In this case, you'd want to use the clear shellac option.
So a quick run down of steps you'd do here would be:
- Clean piece thoroughly with TSP and hot water solution
- Once fully dry, lightly sand visible surface with 220 grit sandpaper
- Apply clear shellac onto every single surface inside and out!
- Repeat step three
- Once fully dry, paint visible surface
- Distress paint with sandpaper
- Seal with topcoat of choice (Wax or Poly)
What if you're not wanting to paint the piece at all? If you want to enjoy the wood in it's natural condition, here's a quick run down of steps:
- Clean piece thoroughly with TSP and hot water solution
- Once fully dry, very lightly sand visible surface with 32o grit sandpaper
- Apply clear shellac onto every single surface inside and out!
- Repeat step three
- Done!
Next example, what if you're wanting to fully paint the piece with no distressing like one of the below examples:
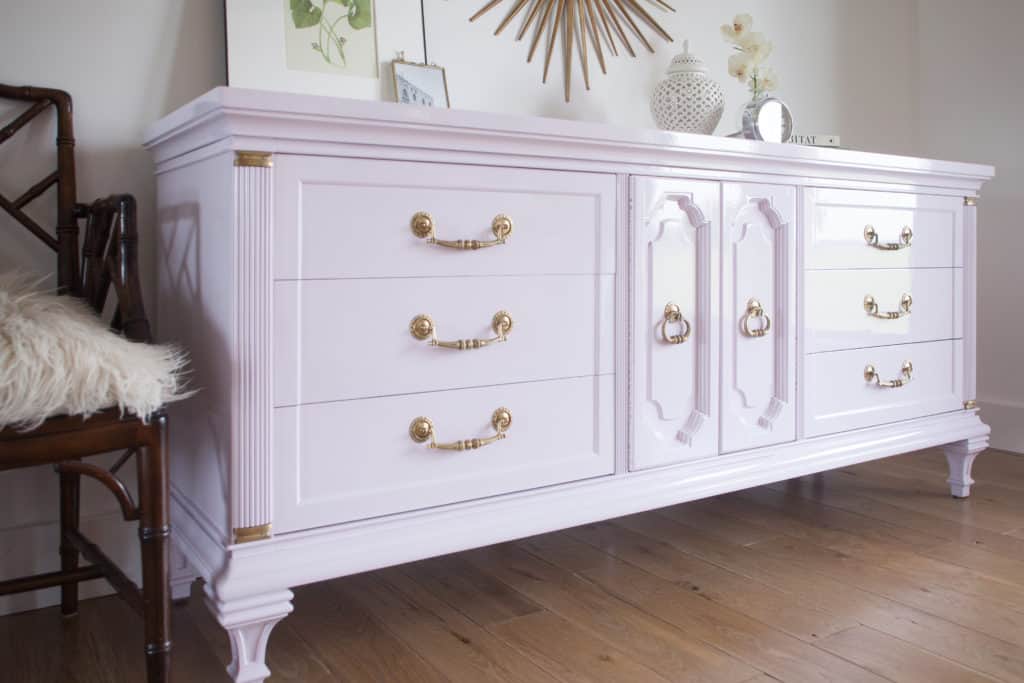
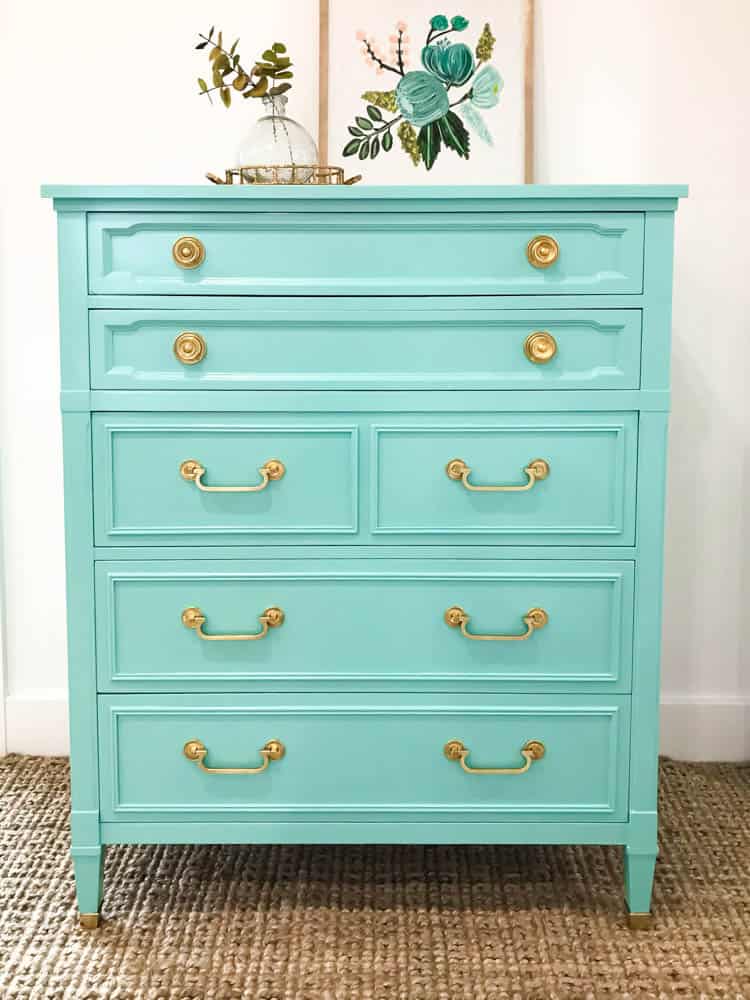
You could do this scenario one of two ways. Use clear shellac on the "guts" of the dresser and pigmented shellac on the visible parts. OR use pigmented shellac over the entire thing foregoing the clear altogether.
Here's a run down of steps of how I would attack this type of project:
- Clean entire piece with TSP and hot water
- Sand visible surfaces
- Cover the "guts" (insides, underside and backside) with clear shellac
- Once that's dry, prime visible surface with pigmented shellac
- Sand primer smooth
- Apply two coats of paint in desired color
- Done!
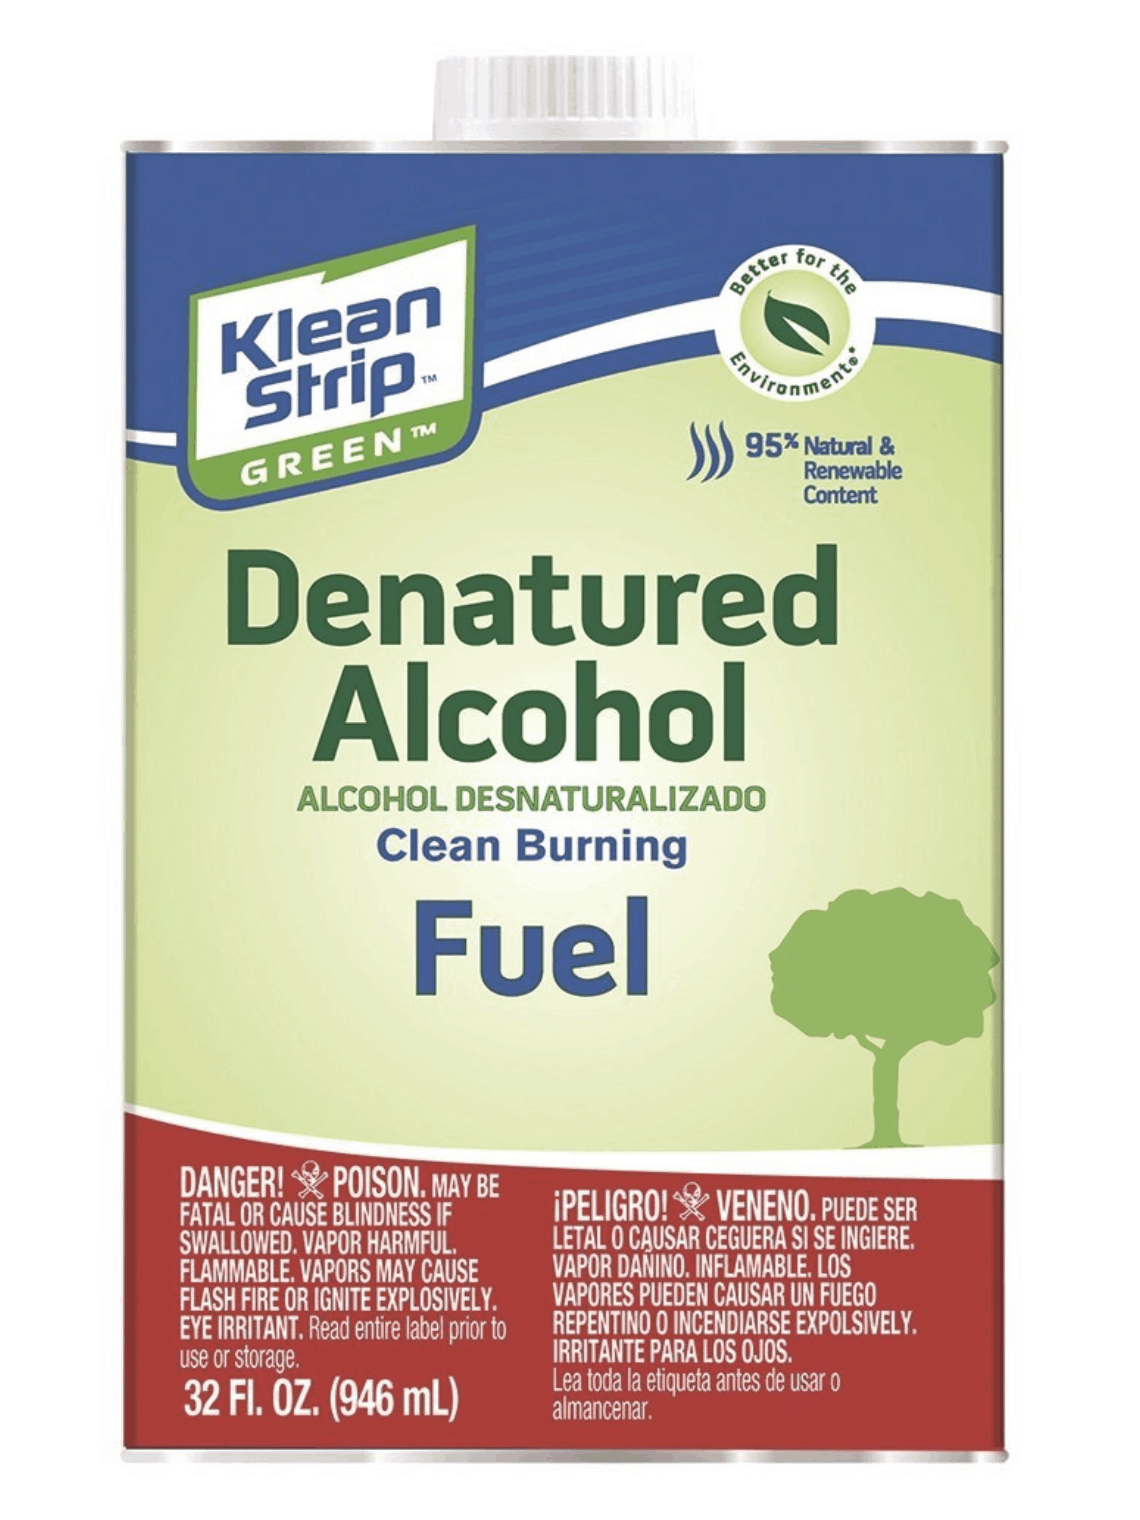
Cleaning Up Shellac
You'll need to clean shellac using denatured alcohol. Don't freak out, it's really simple I promise!
There you have it! No more smelly furniture:)
And guess what, shellac is also THE BEST product for stopping bleed through. Ever painted something only to come back a couple hours afterward to see yellow or reddish spots coming through? That's tannin in the wood. Shellac will stop that from happening!
Ok friends, this post is nearing 1,000 words which is many more than my norm! Hope I didn't bore you to tears!
Wait, I almost forgot! I filmed a Facebook Live on this topic:) Go HERE to watch that!
xo Kayla
One more thing!! Grab a free download of my paint supply list! All the stuff I keep in my shop for painting furniture and cabinets:)

How to Remove Smoke Smell From Wood Furniture
Source: https://www.paintedbykaylapayne.com/how-to-remove-smoke-smell-from-wood-furniture/